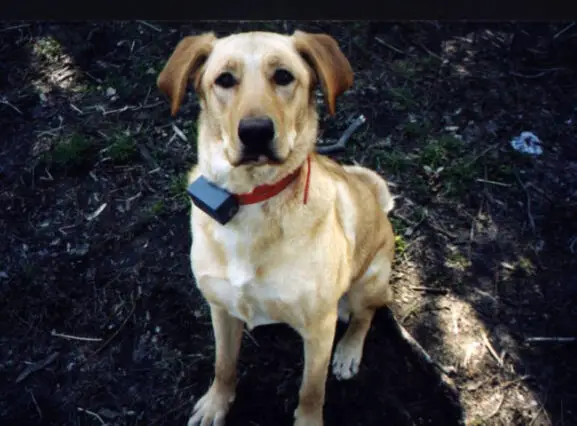
Does your dog have stinky, itchy, dirty ears?
If so, then your dog probably needs to have his ears cleaned and treated… the right way.
You can take your dog to the vet to have them clean your dog’s ears. Or, you can clean your dog’s ears yourself.
If you’d like to do it yourself, here are tips for cleaning dog ears.
The idea is to clean the ears first, and then treat them with an antibiotic afterwards — to prevent further ear problems.
Here are the best tips for cleaning dog ears and treating them at the same time…
Steps For Cleaning Dog Ears
Do this one ear at a time.
The goal is to make it a quick and painless process for your dog.
Products needed: Some dog ear cleaning solution and some cotton balls. (We recommend Epiotic, which was recommended by our vet after Corium-20 became unavailable.)
- Squirt – Squirt the cleaning solution directly into your dog’s ears. Not too much, though. Too much and your dog will jump and shake and you’ll just be wasting the product. Squirt just enough to fill your dog’s ear canal.
- Massage – Massage the cleaning solution in your dog’s ear. Rub softly, not hard. Rub too hard and you could damage your dog’s eardrum. The goal is to massage farther back on the lower part of the dog’s outer ear. This allows any gunk to loosen up and drain away.
- Shake – Allow your dog to shake his head. This won’t be hard — he’ll probably try to shake his head from the moment you first put the cleaning solution in his ear! Your dog’s shaking will get all of the excess solution out of his ear.
- Wipe – Use a cotton ball to gently wipe the inside of your dog’s ear — just the portion inside his ear that you can see. Do not go into the ear canal itself. You want to remove any gunk and excess solution that you can physically see. (Most dogs get a brown waxy build up over time.) If your dog is small, then you probably only need to use half of a cotton ball, rather than a full-size one.
- Praise – Treat and praise your dog for being so good through the entire process (even if he wasn’t).
- Repeat – Now it’s time to do the other ear. Repeat the exact same steps as quickly as you can, because your dog will probably be less willing to sit still at this point.
In this video you can see step-by-step how to clean dog ears:
Steps For Treating Dog Ears
Next you want to treat the ears, in order to alleviate the itchiness.
By treating your dog’s clean ears with an antibiotic, you are increasing the likelihood that your dog’s ears will stay cleaner longer. Plus, any of the itchiness he may have been experiencing should be eliminated practically overnight.
Again, do this one ear at a time.
Fortunately, treating dog ears is much quicker than cleaning dog ears.
Products needed: Dog antibiotic, such as Otomax, which was recommended by our vet.
- Squirt – Squirt a couple drops (only) of the antibiotic directly into your dog’s ear. You use far less of this than you did with the ear cleaning solution.
- Massage – Massage the ointment into your dog’s ear. Again, rub softly. You simply want to move the liquid to coat the entire inside of your dog’s ear.
- Praise – Treat and praise your dog for being a good doggy. Then do something really fun with him — play with a ball or some other fun activity that he really enjoys. That way, he’ll start to associate that every ear cleaning results in fun one-on-one time with you afterwards.